Tag Archives: halloween

HALLOWEEN – GLAM WITH SKULL’S MOUTH MAKEUP TUTORIAL

1 skull makeup look halloween

2 halloween skull makeup tutorial

Hi! Third Halloween makeup tutorial is here :) I was planning on doing something only in my mouth area and the rest would be all glammed normal makeup look. This is what I came out with! Last year I wore that half face skull look to our Halloween party and I really liked the mouth of that look. I wanted to something simpler and quicker, so this is the look :) So let’s get into the tutorial!

Hei! Kolmannen halloween meikkitutoriaalin aika :) Olin suunnitellut tekeväni yhdeksi halloween lookiksi tänä vuonna meikin, jossa ”halloween osuus” olisi vain suun alueella ja muu meikki olisi todella juhlallista normaalia meikkiä. Tällaista sain aikaiseksi! Viime vuoden Halloween bileisiin meikkasin sen puolinaama luurangon ja tykästyin sen lookin suu osaan. Halusinkin tehdä jotain sen tyylistä, mutta yksinkertaisempaa ja nopeampaa versiota. Tällainen siitä sitten tuli ja mennäämpäs sitten siihen tutoriaaliin!
3 halloween luuranko meikki tutoriaali

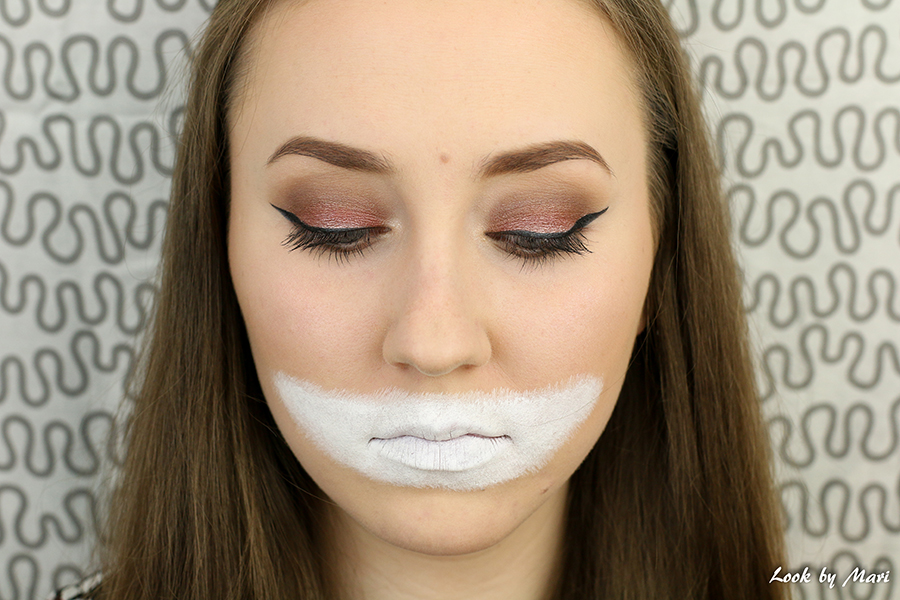
First I did my makeup like I usually do it. I also did a makeup look post on this look in here, so you can recreate this exact look if you want to! All the products I used in this makeup look are also listed in the end of this post. So after you have done the base makeup (you can skip contour, blush and highlight) and the eye makeup, paint your mouth area white, using face paint.

Ensiksi tein normaalin meikkini, kuten sen normaalistikin tekisin. Tein tästä itse meikkilookista postauksen täällä, joten jos haluat luoda täsmälleen tämän lookin, voit kurkata myös tuon postauksen nähdäksesi miten tehdä tuo pohja- ja silmämeikki. Kaikki tässä lookissa käyttämäni tuotteet löydät myös tämän postauksen lopusta, kuten aina. Joten kun olet tehnyt normaalin meikin (ilman varjostuksia, korostuksia ja poskipunaa) ja silmämeikin, voit maalata kasvomaalilla suu alueen valkoiseksi.

4 skull makeup tutorial halloween step by step easy

Using small amounts of black face paint, first draw lines from your cheek to your mouth on both sides. Then add short lines from the first line up and down to create the places for the teethes. Then add longer lines from those short lines up toward the center of the teethes (like in photo 1 & 2). This will create the shape of the tooth’s root. Then add lines to create round shape to the teeth, where the top row touches the bottom row. So to the top teeth row that is on the bottom and on the bottom teeth row that is on the top (like in photo 3). Then use any buildable black eyeshadow to start to create length and shadow up fords (like in photo 4 I have done for couple of the top row’s teethes).

Käyttäen kerrallaan vain pientä määrää mustaa kasvomaalia, aloita piirtämällä viivat poskista suun sivuille (molemmille puolille). Sitten lisää lyhkäisiä viivoja vaakasuorasta viivasta ja huulista ylös ja alaspäin hampaiden äärirajoiksi. Tämän jälkeen tee lyhkäisistä viivoista pidempiä kääntäen viivaa hampaan keskiosaa kohden, luoden hampaan juuren muodon (kuten kuvissa 1 & 2). Lisää hampaiden kärkiin eli siihen päähän, jossa hampaat koskettavat yhteen pyöreää muotoa mustalla kasvomaalilla (kuten kuvassa 3). Sitten käytä mustaa pigmenttisyydeltään kerrostettavaa luomiväriä pidentääksesi hampaan juurta ja luoden hampaisiin varjoa (kuten kuvassa 4 olen tehnyt muutamalle ”ylähampaalle”).

5 halloween skull makeup step by step tutorial easy

After you have add length to the teethes with the eyeshadow, add that same black eyeshadow to the places where you would naturally have gums. Be carefully that you don’t put the eyeshadow where the tooth should be. Make the thinnest part of the gums the blackest and fade towards the widest part (like in photo 5). Then add black (with VERY light hand) or grey to the out of parts of the teethes to create dimension (like in photo 6). Now the mouth should look like in the photo 7. If you have make the root’s of the teethes too thing (with applying the black eyeshadow too far), you can now take the white face paint again and paint the roots more wide. You can see the difference that makes by comparing the pictures 6 and 8 (you can especially see it in the top teeth!).

Kun olet pidentänyt kaikkien hampaiden juuria ja varjostanut niitä luomivärillä, käytä tuota samaa mustaa ja lisää sitä paikkoihin, jossa ikenesi normaalisti olisivat. Ole tarkkana, ettet levitä mustaa ikenen paikan sijaan hampaan paikalle. Tee ikenen ohkaisemmasta kohdasta tummin ja häivytä sitä vaaleammaksi ikenen leveämpään kohtaan päin (kuten kuvassa 5). Sitten lisää mustaa (HYVIN kevyellä kädellä) tai harmaata hampaiden ulkoreunoille hieman valkoisen päälle, luoden varjostusta ja muotoa hampaalle (kuten kuvassa 6). Nyt suun pitäisi näyttää kuten kuvassa seitsemän. Jos olet levittänyt mustaa luomiväriä liian pitkälle valkoisen juuren päälle, voit nyt korjata sitä lisäämällä juureen lisää valkoista kasvomaalia ja näin saaden juuren enemmän esille. Voit nähdä tämän vaiheen aiheuttaman eron vertaamalla kuvien 6 ja 8 ylähampaiden juuria.

6 halloween luuranko meikki helppo askel askeleelta tutoriaali

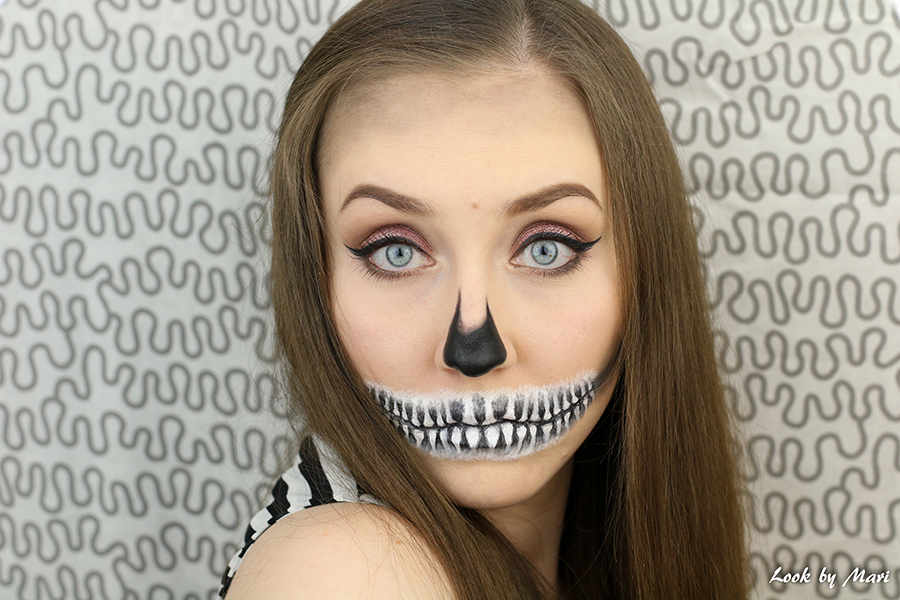
Paint the nose black with face paint and fade the top with black eyeshadow. Add “contour” from the teethes to your ear using first black eyeshadow and then blending it with grey eyeshadow. Also add shade to your face by using that same grey eyeshadow in the places you would normally add bronzer (especially on forehead and jawline). And the look is DONE!

Maalaa nenä mustaksi käyttäen mustaa kasvomaalia ja häivyttäen mustan nenän varsia mustalla luomivärillä. Lisää ”varjostus” hampaista korviin asti, lisäämällä ensin linjaksi mustaa luomiväriä ja häivyttämällä sitä sitten harmaalla luomivärillä. Lisää vielä varjostusta samalla harmaalla luomivärillä paikkoihin, johon normaalisti lisäisit aurinkopuuteria (ainakin otsaan ja leukaluun alle). Ja lookki on VALMIS!
7 halloween luuranko meikki asu tutoriaali look

8 halloween makeup costume scary

9 skull makeup ideas inspiration black and white

10 halloween 2016 beautiful makeup ideas costumes pretty

11 skeleton makeup tutorial halloween 2016 ideas inspiration

That was my third Halloween makeup tutorial! Glam makeup with skull’s mouth. You can see my previous Halloween makeup tutorials of 2016 in the links here – Galaxy and Darkness & Veins. What kind of Halloween look are you going to do on Halloween? :) Till next time – Mari

Siinä oli siis mun tämän vuoden kolmas Halloween meikkitutoriaali! Juhlallinen meikki luurangon suulla. Voit kurkata mun kaksi aikaisempaa tämän vuoden Halloween meikkitutoriaalia täältä – Galaxy ja Darkness & Veins. Minkäslaista Halloween lookkia sä olet ajatellut tänä vuonna tehdä? :) Seuraavaan kertaan asti – Mari

I used / Käytetyt tuotteet :
Mac – Pro Longwear paint pot (soft ochre)
bhcosmetics x shaaanxo palette – vanilla shade, to set the eye primer
Makeup Geek – Baby Face, Friend Zone & Barcelona Beach, for transition shades
Makeup Geek – Brownie Points + Mesmerized, below the transition shades
bh cosmetics x shaaanxo palette – glittery brown shade, for the lid
Makeup Geek – Anarcy, on top of the glittery brown
Makeup Geek – In the spotlight, for inner corners
Rimmel – Colour precise eyeliner (001 Black)* + Maybelline Lasting drama gel eyeliner 24H (01 Black), for liner
Maybelline – Lash sensational mascara (black)
Rimmel – Stay Matte primer
Lumene – Beauty Base Mattifying & Pore minimizing primer
Maybelline – Matte + Poreless foundation (110 Porcelain)*
Mac – Pro long wear concealer (NW15)
Lumene – CC color correcting powder (Light/Medium)
Too Faced – Milk chocolate soleil bronzer
Urban Decay – Afterglow highlighter (Aura)
Jordana – Brow powder duo (03 Dark) *from pastelbeauty.fi
Rimmel – Brow This Way brow styling gel (004 Clear)*
Makeup Geek – Barcelona Beach & Brownie Points, on the lower lashline
Makeup Geek – Corrupt, on the out of parts of the lower lashline
Superstar – Aqua face- and body paint (zwart)
Superstar – Aqua face- and body paint (clowns wit)
Urban Decay – Naked 2 palette : Blackout, for the teethes
Makeup Geek – Corrupt & Friend Zone for the contour

*Products are gifted / Tuotteet ovat saatuja

HALLOWEEN – DARKNESS AND VEINS MAKEUP TUTORIAL

1

2

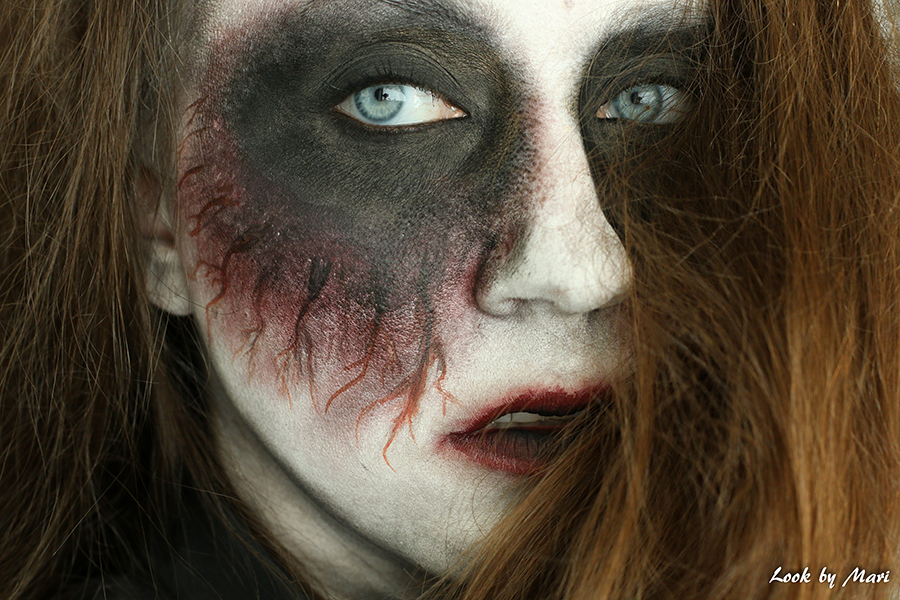
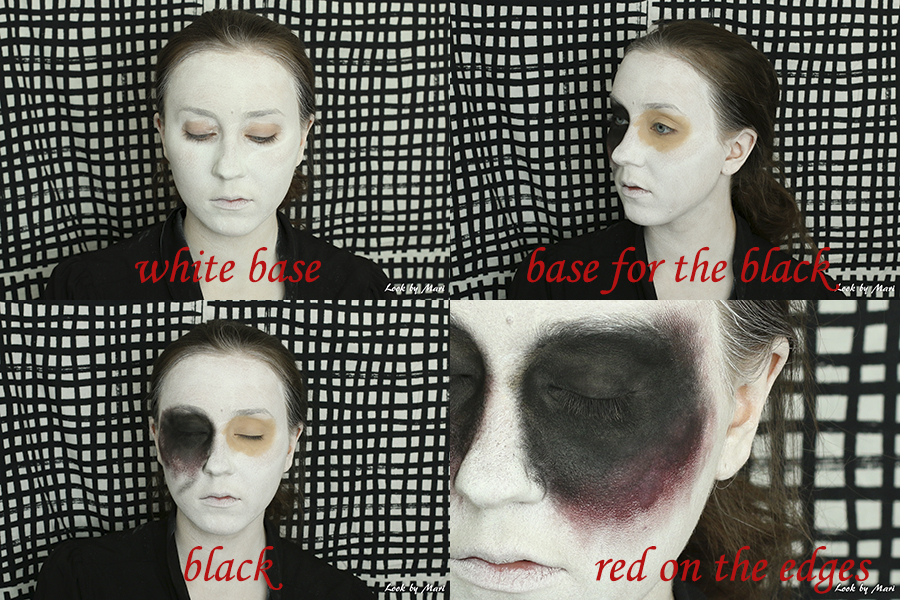
Hi! Let’s go for creepier Halloween looks, shall we? :p White skin, darkness around the eyes and veins. Lots of veins. This year I wanted to do tutorials instead of just looks, so you could easily re-create the looks I did, if you wanted to. So I also have a step-by-step tutorial on this look and let’s start with it!

Moikka! Mennäämpäs sitten niihin kammottavampiin Halloween lookkeihin, eikös vaan? :p Kalpea iho, pimeyttä silmien ympärillä ja verisuonia. Paljon verisuonia. Tänä vuonna halusin tehdä teille tutoriaaleja pelkkien lookkien sijasta, koska halusin teidän pystyvän halutessanne luomaan nämä lookit myös itsellenne. Joten tein myös tästä lookista tutoriaalin ja aloitetaan nyt sen parissa!

3-6

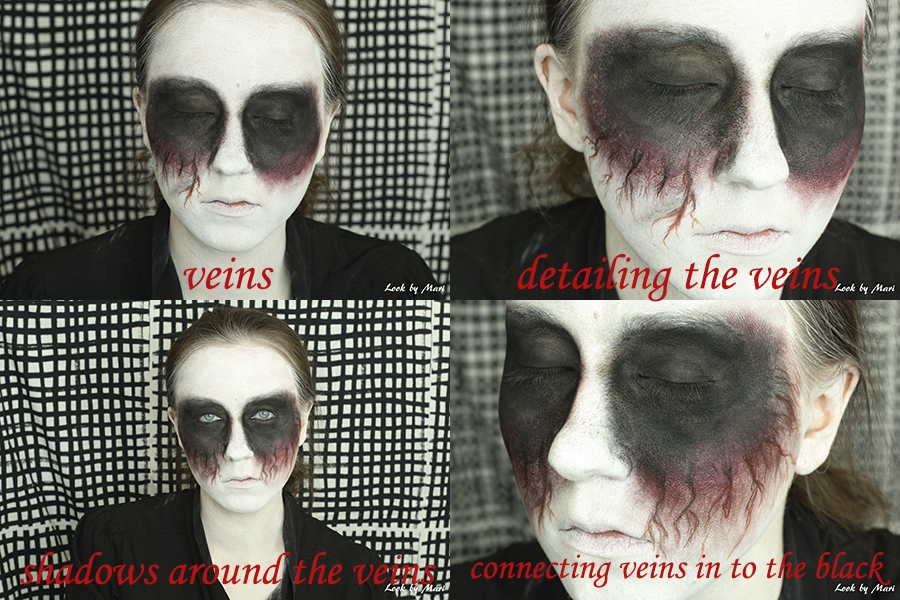
I started by applying primer and my lightest foundation first. Then I pressed white aqua face paint on top of it and let it try for a minute. After that I set my face makeup with powder to make blending eye shadows on top of it easier, because I mostly used eyeshadow to create this look. In the top right picture, I added Mac’s paint pot (eyeshadow primer) around my eyes to make black eyeshadow pop more on top of it.

On the bottom left picture I started to add Makeup Geek’s black eyeshadow called Corrupt on top of the paint pot and fading it outwards. I took the black up to my brows and under my eyes I stopping the fading just above where my nose ends. Then I just intensified the black around my eyes and blended and blended. Then I added Makeup Geek’s Bitten (the dark red) around the bottom edges of the black color. I also used Mac’s Fix+ makeup setting spray on my brush to make the red more visible next to the black.

Aloitin halloween lookin tekemisen pohjustamalla kasvoni primerilla ja levittämällä sen jälkeen vaaleimman meikkivoiteen kasvoilleni. Sitten painelin valkoista kasvomaalia ympäri kasvojani ja annoin sen kuivua minuutin. Lopuksi vielä kiinnitin pohjan värittömällä irtopuuterilla. Käytän tässä lookissa paljon luomivärejä kasvoillani, joten puuterointi auttaa myös niiden häivyttämisessä. Ylhäällä oikealla olevassa kuvassa lisäsin silmieni ympärille Macin paint pot silmämeikin pohjustusainetta (tai peiteainetta), jotta saisin pian lisäämäni mustan värin paremmin esille.

Alhaalla vasemmalla olevassa kuvassa lisäilinkin sitten Makeup Geekin mustaa luomiväriä nimeltä Corrupt silmieni ympärille, häivyttäen ulospäin. Toin mustan värin aina häivyttäen kulmiini saakka, sekä silmien alla häivytyksen lopetin nenäni alaosaan. Sitten vain vahvistin mustaa sävyä silmieni ympäriltä sekä häivytin ja häivytin. Lopuksi vielä lisäilin Makeup Geekin Bitten sävyä (tummanpunaista) mustan värin alareunojen ympärille. Käytin sävyn kanssa siveltimessäni Macin Fix+ suihketta, jotta se erottuisi kunnolla mustasta.

8-11

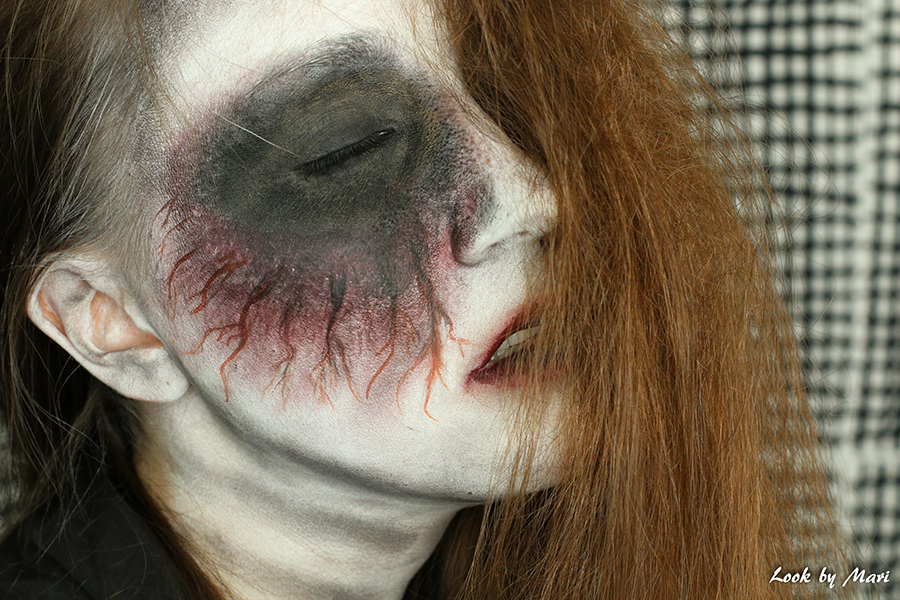
Then I started to create the veins first with red aqua paint and then adding dimension with black aqua paint in the center of the veins. Then I used Makeup Geek’s eyeshadow Friend zone around the veins to create shadows and more realistic look to the veins. I also lightly used Bitten (dark red) between the veins to make the black, red and the veins look more as one. Lastly I connected the veins into the black around my eyes by using black face paint, Corrupt and Bitten. And painted the veins changing from red to black.

Sitten aloin luomaan verisuonia silmien alle punaisella kasvomaalilla ja lisäämällä suonten keskelle syvyyttä mustalla kasvomaalilla. Lisäilin Makeup Geekin Friend Zone luomiväriä verisuonten ympärille luoden varjostuksia ja enemmän todenmukaisen näköisiä suonia. Lisäsin myös Bitten luomiväriä (tummanpunaista)  suonten väliin saadakseni mustan, punaisen ja vesisuonet sointumaan paremmin toisiinsa. Lopuksi yhdistin vielä suonet mustiin silmänympäryksiin käyttämällä mustaa kasvoväriä sekä Corrupt ja Bitten luomivärejä luodakseni suoniin liukuvärjäyksen punaisesta mustaan.

12

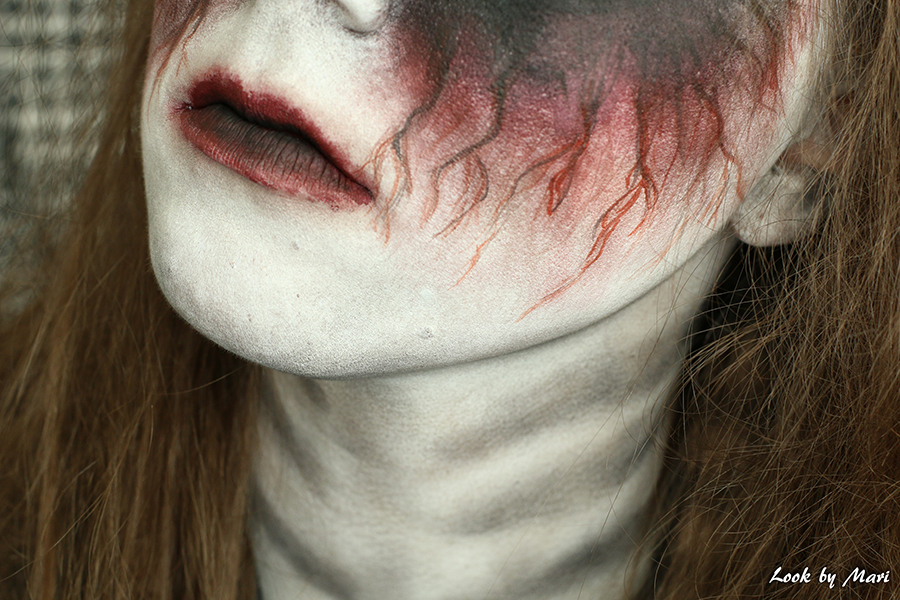
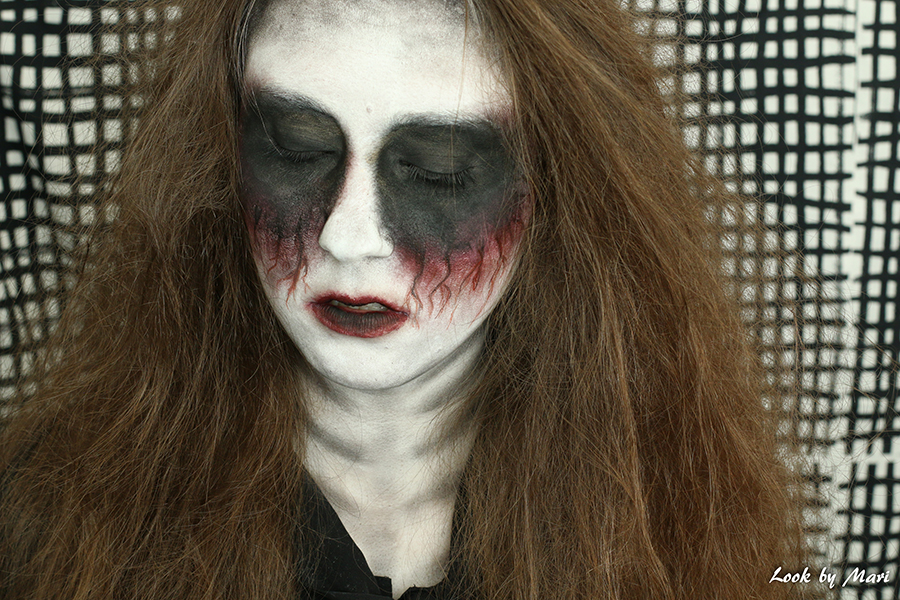
Then it was time for the lips! I used Make up for ever Aqua Rouge waterproof liquid lip color (dark red) in the center of my lips and faded that with Makeup Geek’s Bitten. I also added Friend Zone around the lips to create more messy looking mouth. Then I slightly used Corrupt on my forehead and jawline to create dimension. I also added some “body structure” onto my neck by doing one big “bone” up to down and little “bones” around that in same levels (not touching the middle one). And that’s it! All you now need is messy hair, ripped clothes and some attitude to pull this look together. And also white or black contact lenses would look super cool with this look, but like you can see, my blue eyes work well too.

Ja huulten aika! Käytin Make up for everin Aqua Rouge waterproof liquid lip coloria (todella tummanpunaista) huulteni keskellä ja häivyttelin sitä Bitten luomivärillä. Lisäilin huulten ympärille myös Friend Zone luomiväriä, luodakseni sottaisemman näköistä lookkia. Sitten sudin kevyesti vielä mustaa Corrupt luomiväriä otsani hiusrajaan ja leukalinjaan varjostuksen luomiseksi. Kaulaani loin samalla luomivärillä pitkän pystyluun ja sen molemmin puolin samoille tasoille ”pikkuluita” kaularangaksi, siten etteivät ne yhdistyneet keskellä olevaan luuhun. Ja meikki on valmis! Enää tarvitset vain sotkuisen tukan, rikki revenneet vaatteet ja asennetta lookin kantamiseen. Valkoiset tai koko mustat piilolinssit olisivat myös mahtavan näköiset tämän lookin kanssa, mutta kuten kuvista näet menevät myös tavalliset siniset silmät tämän lookin kanssa.

13

14

15

16

17

18

And that was my second Halloween look! Creepier than my this year’s first Halloween tutorial, galaxy makeup look :) What do you think? Are you thinking of doing pretty or creepy Halloween look this year? :) Let me know on the comment section below!  Till the next one   – Mari

Ja siinä oli mun toinen Halloween lookki! Paljon pelottavampi kuin mun tämän vuoden ensimmäinen halloween tutoriaali, galaxy meikkilookki :) Mitäs tykkäsitte tästä pelottavammasta? Ja ootko sä tekemässä kaunista vai pelottavaa lookkia täksi halloweeniksi? :) Kommentoi ja kerro se mulle tuolla kommenttiboxissa alempana! Seuraavaan kertaan asti   – Mari

I used / Käytetyt tuotteet:
Rimmel – Stay matte primer
Smashbox – Photo Finish blemish control primer
Kat Von D – Lock it foundation (Light 42)
Superstar – Aqua face- and body paint (clowns wit)
Oriflame – Studio artist loose powder
Mac – Pro long-wear paint pot (soft ochre)
Makeup Geek – Corrupt, Bitten and Friend zone
Mac – Fix+ spray, for darken up the red color (Bitten)
Bruynzeel – Face- and body paint palette: red & black, for the veins
Makeup Geek – Bitten and Friend zone, for shadowing the veins
Make up for ever – Aqua Rouge waterproof liquid lip color (dark red color), for the inner parts of the lips*
Makeup Geek – Bitten, for the lips
Makeup Geek – Friend zone, around the lips
Makeup Geek – Corrupt, for the forehead, neck and jawline
Oriflame – Giordani Gold Incredible length mascara
Isadora – Smoky eyeliner (12 Dark Brown)*

*Products are gifted / Tuotteet ovat saatuja
HALLOWEEN – GALAXY MAKEUP TUTORIAL

1 Galaxy makeup tutorial halloween

2 Galaxy halloween costume makeup

3 Halloween galaxy costume makeup

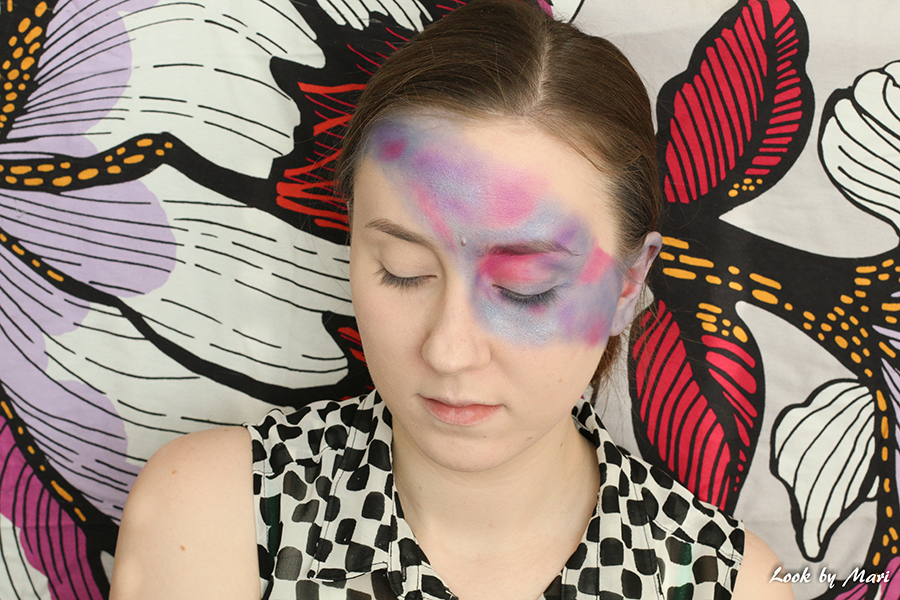
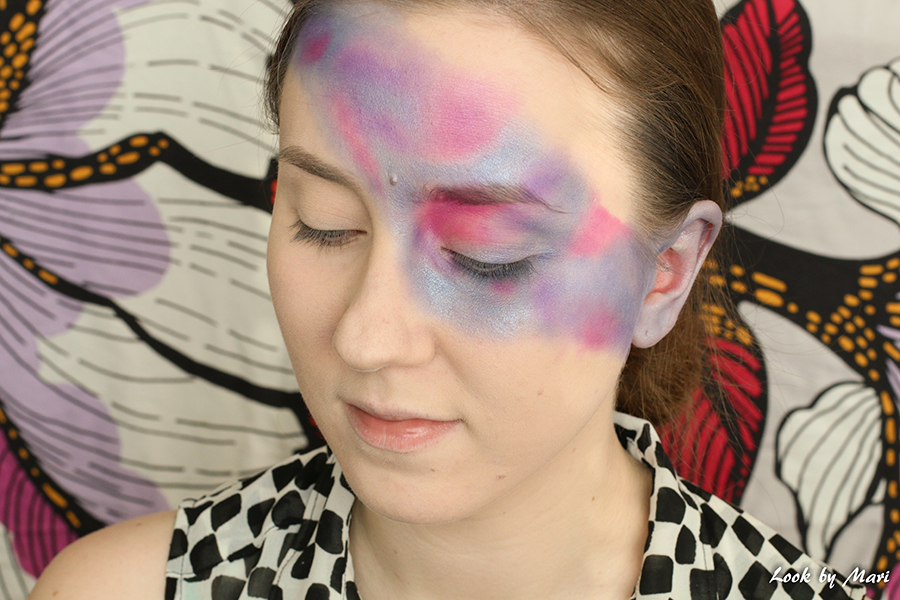
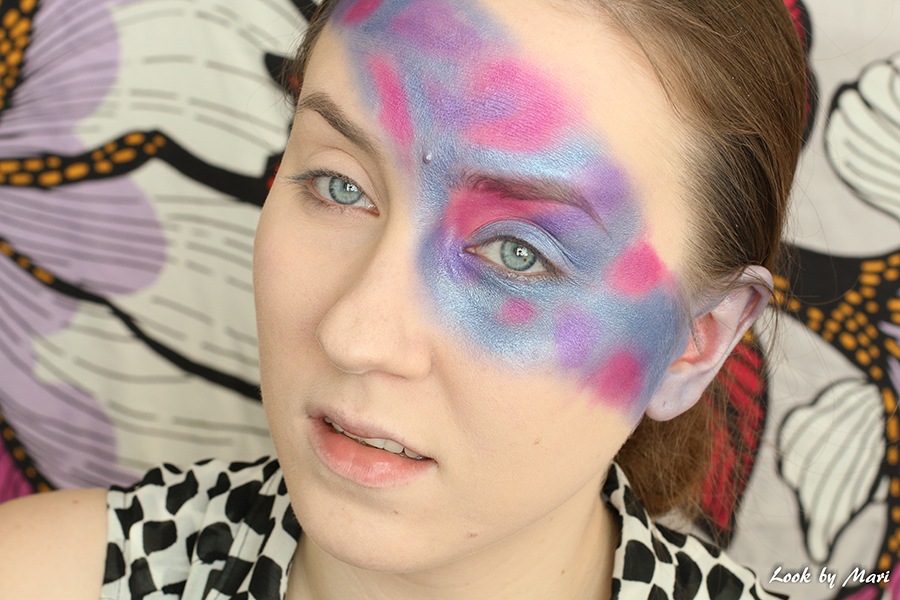
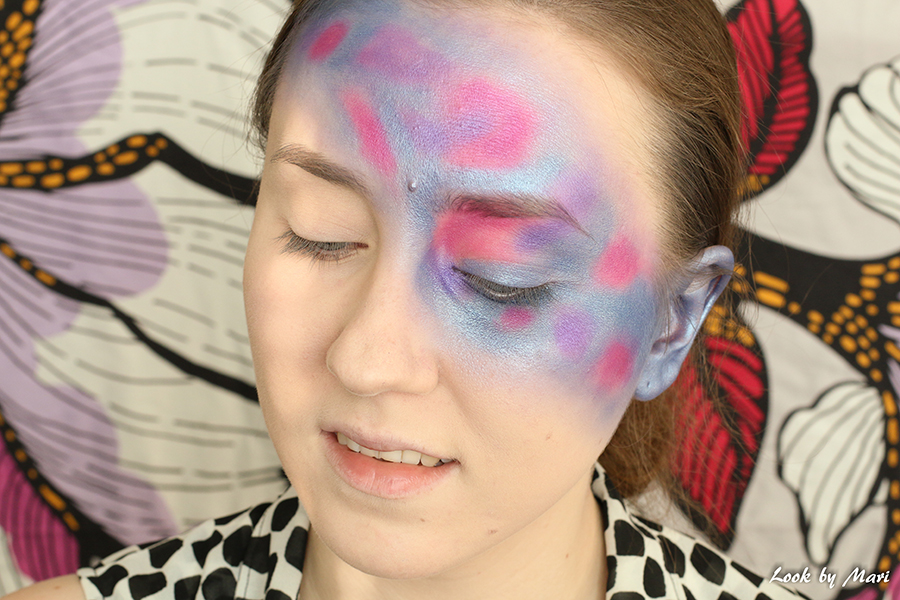
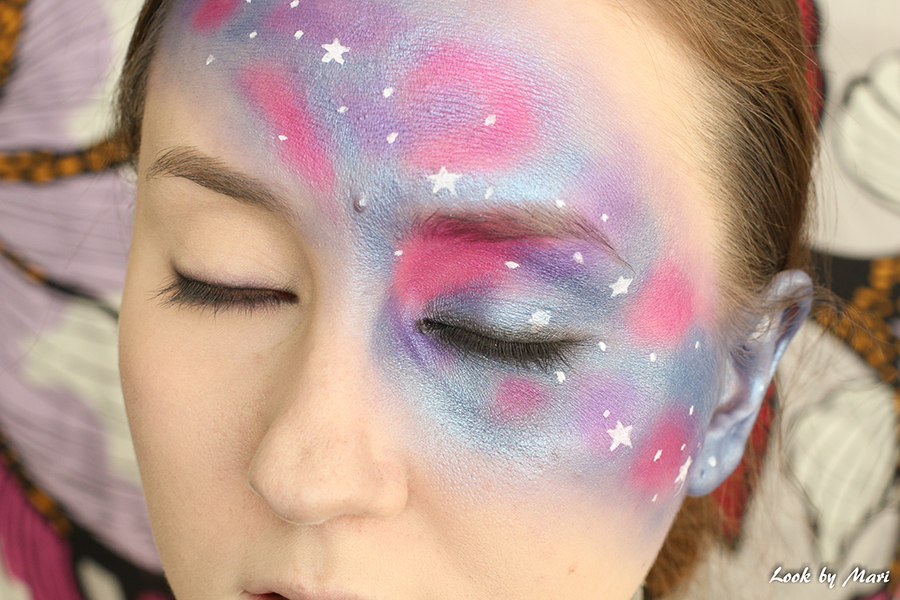
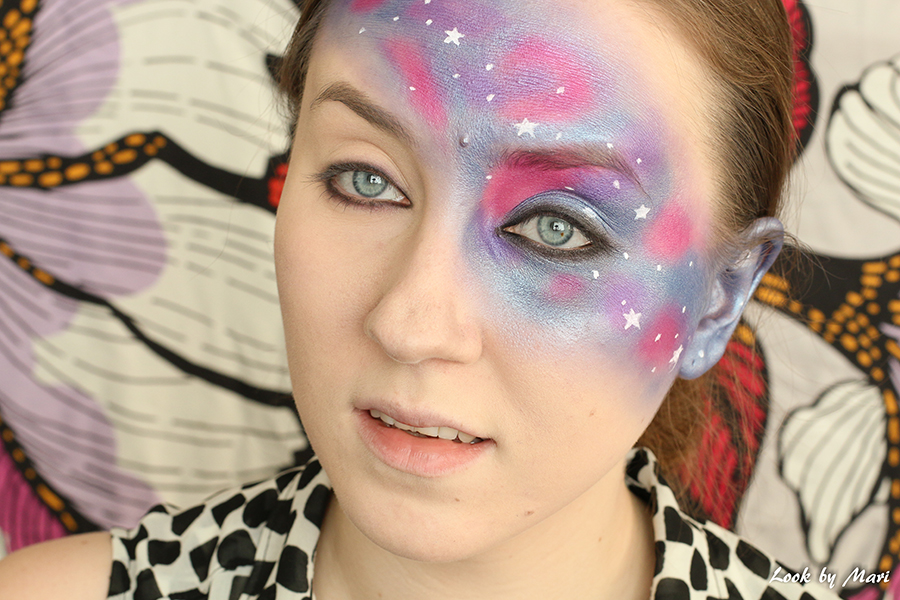
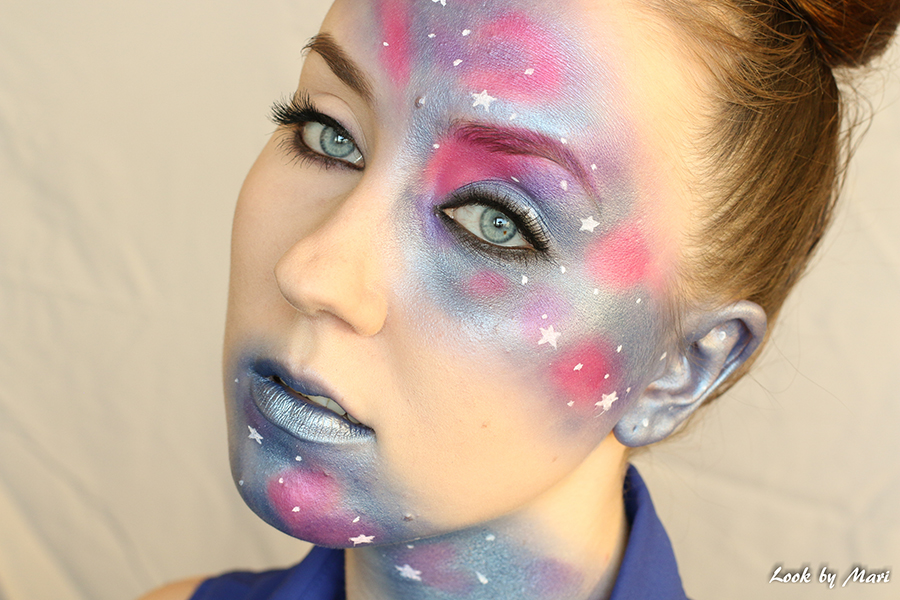
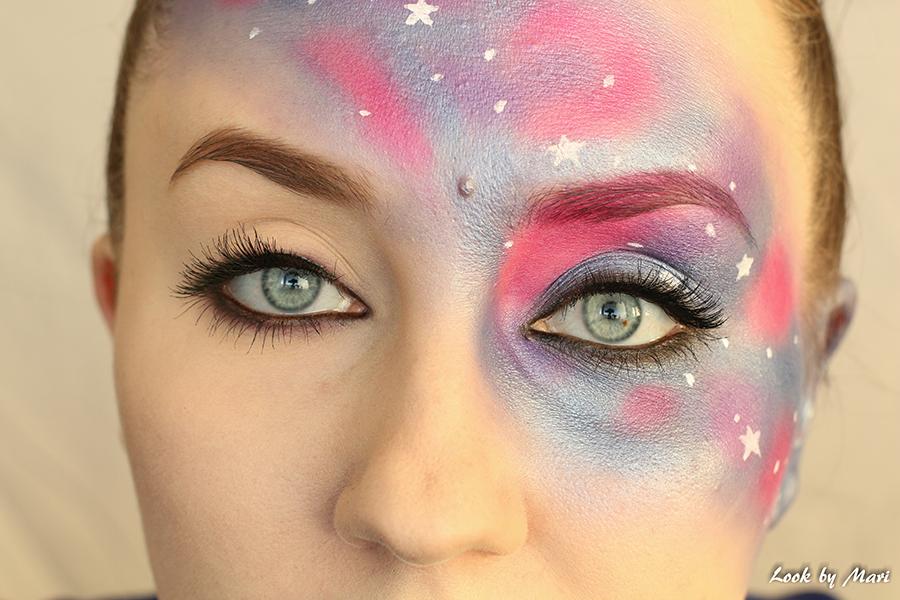
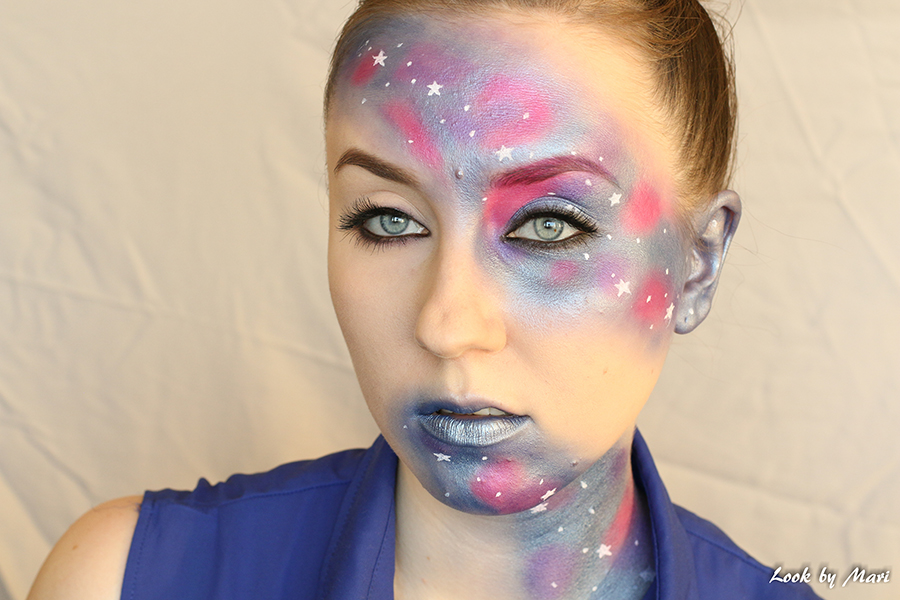
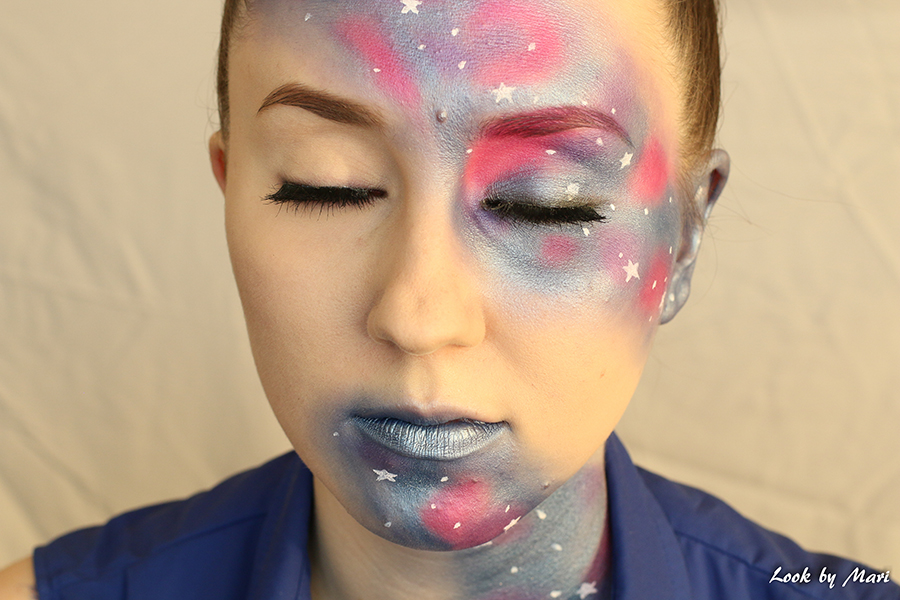
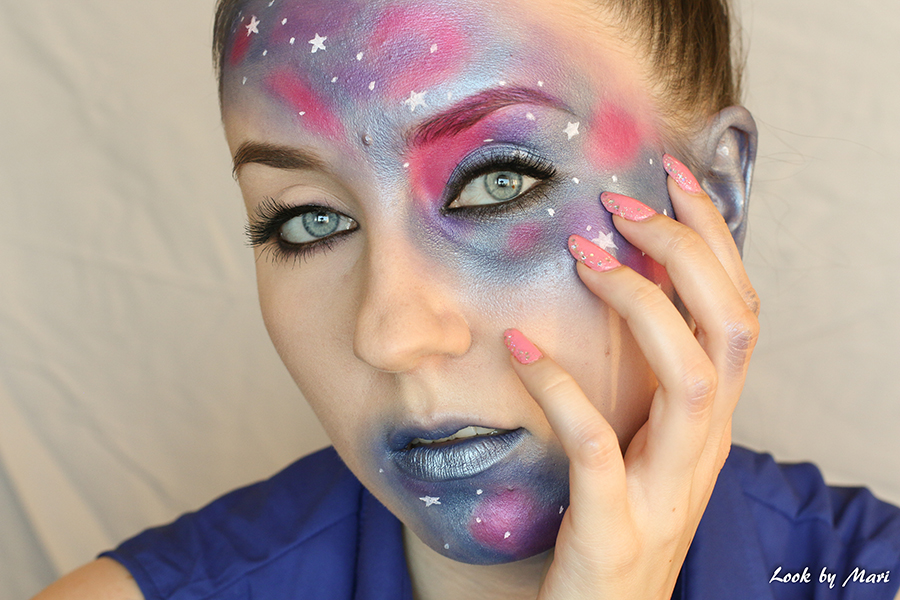
The first Halloween tutorial in 2016! I wanted to do something fun and beautiful, so I ended up creating galaxy makeup look. Don’t worry, I have creepy Halloween looks coming later, but I wanted to start with something beautiful <3 I made a mini tutorial for you in pictures on this look, so let’s get started!

Vuoden 2016 ensimmäinen halloween tutoriaali! Halusin tehdä ensimmäisenä lookkina jotain hauskaa ja kaunista, joten päädyin tekemään galaksi meikin. Älkää olko huolissanne, kammottavammat Halloween meikkilookit ovat tulossa myöhemmin, mutta halusin vain aloittaa jollain kevyellä ja kauniilla <3 Tein teille tästä meikistä askel-askeleelta tutoriaalin kuvien muodossa, joten aloitetaanpas sitten!

4 base

First I started by doing my normal base makeup: primer, foundation, concealer and powder to set everything in place. All the products I use in this look are listed in the end of this post! So check that out, if you’re interested what precise products I used.

Aloitin tekemällä normaalin pohjameikin: pohjustusvoide, meikkivoide, peiteaine ja lopuksi kiinnitin kaiken vielä paikalleen puuterilla. Kaikki tässä meikissä käyttämäni tuotteet ovat listattuna postauksen lopussa! Joten kurkkaa sieltä, jos olet kiinnostunut siitä mitä tuotteita mä tässä käytin.  

5 Aloitus haalea

6 Aloitus haalea

Then I started to create the shape of the galaxy and the colors in it. I did this from my forehead towards my left ear. I also did the colors one by one, because if you do the blue color all over and then try to do the other colors on top of it, you can’t get the pink and the lilac so radiant. So put every color straight into your skin one by one, without any base color underneath.

Sitten aloin hahmottelemaan galaksin muotoa ja sen värejä paikalleen. Aloitin otsastani ja työskentelin siitä alaspäin kohti vasenta korvaani. Vaihtelin väriä ja sivellintä aina välillä alaspäin mennessäni. Sinistä ei kannata galaksin muotoa hahmotellessa laittaa koko galaksin pohjaksi, koska silloin et enään saa pinkkiä ja violettia niin kirkkaan värisiksi ja erottuviksi. Älä siis yritä laittaa sinistä pohjalle ja toista väriä siihen päälle, vaan teen värit yksi kerrallaan suoraan ihollesi, ilman pohjaväriä.

7 vahvistus

Then intensify the colors by using Mac’s Fix+ spray or wetted brush with more of those same colors in the same places.

Vahvista sävyjä käyttäen samoja värejä samoihin kohtiin Macin Fix+ suihkeen kanssa tai levittämällä lisää pigmenttiä hieman kostutetulla siveltimellä. Lisää samoja sävyjä edellisten, jo laittamiesi sävyjen päälle.

8 Häivytys

Fade out the edges with the colors next to it. Blend, blend and blend!

Häivytä reunoja samoilla sävyillä, joita reunan siinä kohtaa jo on. Häivytä, häivytä ja häivytä!

9 lisää tähtiä

Add stars and dots with white eyeliner or with white face paint. Create a messy “line” with the stars and the dots.

Lisää värien päälle tähtiä ja pisteitä valkoisella nestemäisellä rajausvärillä tai valkoisella kasvomaalilla. Luo epäsymmetrinen ”linja” tähdillä ja pisteillä.

10 lisää smoky eyes

Add black eyeshadow around the eyes and slightly smoky it out. Avoid doing “the panda eyes” by smoking the black too far. Also if you like, add false lashes.

Levitä mustaa luomiväriä silmien ympärille ja kevyesti häivytä sävyä ulospäin. Vältä tekemästä ”pandan silmiä” häivyttämällä mustaa liian kauas silmistä. Ja jos haluat, voit myös lisätä tekoripset.

16 galaxy makeup

Create another galaxy from the lips down to the neck. Do the same steps as you did in the other galaxy on the face.

Tee toinen galaksi alkaen huulista ja mennen pitkin kaulaa. Toista samat vaiheet kuin kasvoihin tehdyn galaksin kanssa.

12 space makeup tutorial halloween 2016

Spray makeup setting spray on top of everything, if you want this to last thought dancing and parting :) Just do your hair like you want it to be and you’re ready! I would pair this up with ocean blue top/shirt and with black jeans. Or with blueish dress. This is really easy look to do. You just have to be patient with the blending and blend out some more :p

Suihkuta kauttaaltaan kasvojen ja kaulan päälle vielä meikin kiinnityssuihketta, jos haluat meikin kestävän biletyksen ja tanssimisen :) Sitten vielä hiusten laitto ja kaikki on valmista! Itse pukisin tämän meikin kanssa merensinisen topin/paidan ja mustat farkut tai jonkun hienon sinisävyisen mekon. Tämä meikki on kyllä erittäin helppo tehdä (vaikka se ei aluksi siltä näyttänytkään). Häivytys vaatii vain hermoja ja vielä lisää häivytystä :p

13 simple halloween makeup helppo halloween meikki 2016

14 halloween galaksi meikki asu

15 galaxy halloween makeup tutorial

11 theme party blue teemabileet sininen

17 galaxy blue

18 theme party galaxy space teema bileet juhlat galaksi

Next I’m doing something more creepier and scarier, because ca ´moon it’s Halloween and some of us want to look awful (in a good way)! So see you on the next one :)    – Mari

Seuraava halloween meikki onkin sitten karmivampi ja pelottavampi, koska kamoon on Halloween ja jotkut meistä haluavat silloin näyttää kamalilta (termin parhaimmalla mahdollisella tavalla)! Joten seuraavaan kertaan asti :)   – Mari

I used / Käytetyt tuotteet :
Make up for ever – Step 1 Mattifying primer
Smashbox – Photo finish blemish control primer
Marc Jacobs – Re(marc)able foundation (10 Ivory Light)
Loreal – Infallible 24H-Matte foundation (11 Vanilla)
Urban Decay – Naked skin concealer (Fair Neutral)
Lumene Natural Code – Skin perfector matt powder (11 Cream)
Morphe Brushes – 35U eyeshadow palette : Glittery dark blue, matte hot pink and two matte lilac colors + Mac’s Fix+ spray to intensify the colors
Makeup Geek – Corrupt (for the smoky eyes)
Isadora – Smoky eye liner (12 Dark Brown)*
Maybelline – Master Ink (11 Matte white), for the stars*
Jordana – Brow powder duo (03 Dark), for the right brow*
Rimmel – Brow this way brow styling gel (004 Clear)*
Oriflame – Giordani Gold Incredible length mascara
Depend – Cleopatra false lashes

*Products are gifted / Tuotteet ovat saatuja
HALLOWEEN NAILS 2015

1

2

3

4-0

5

6

Hello!

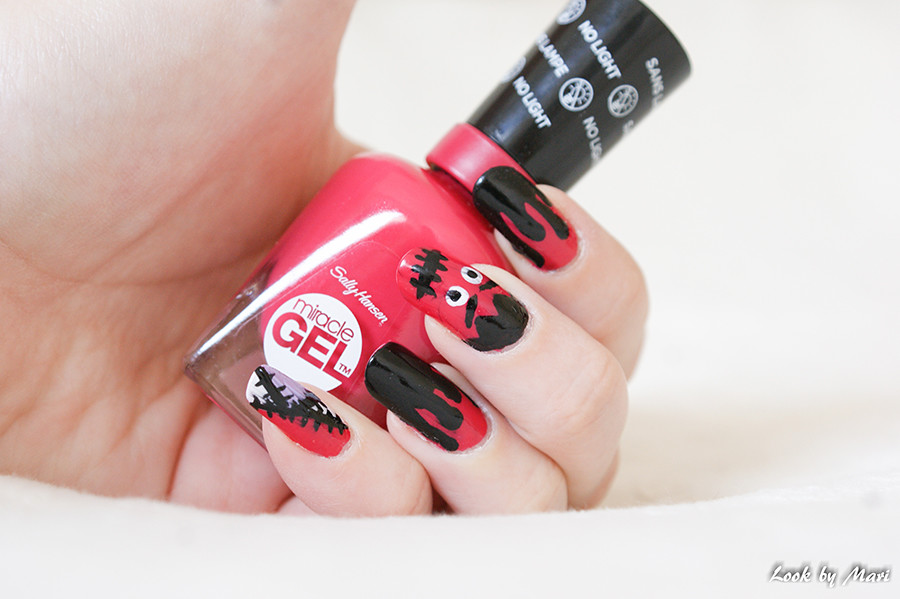
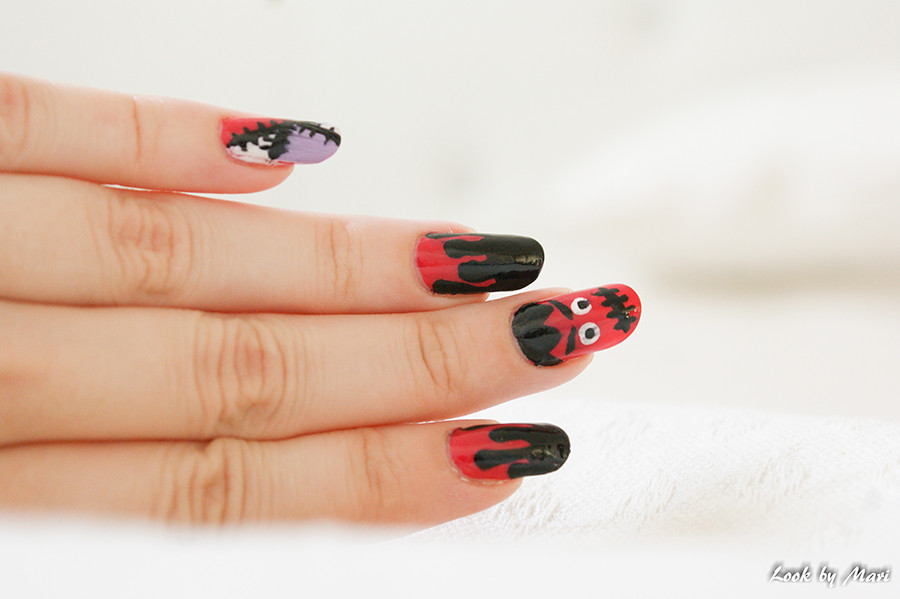
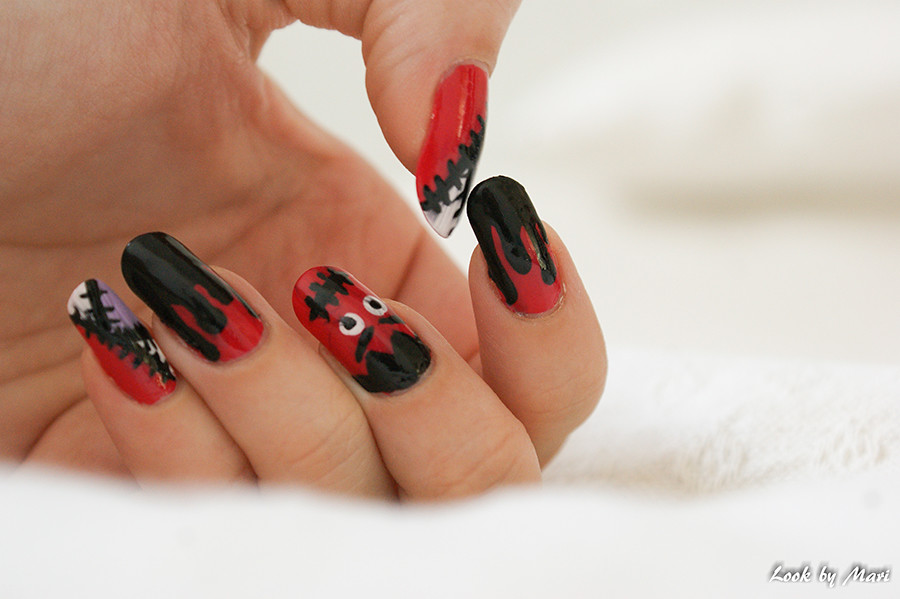
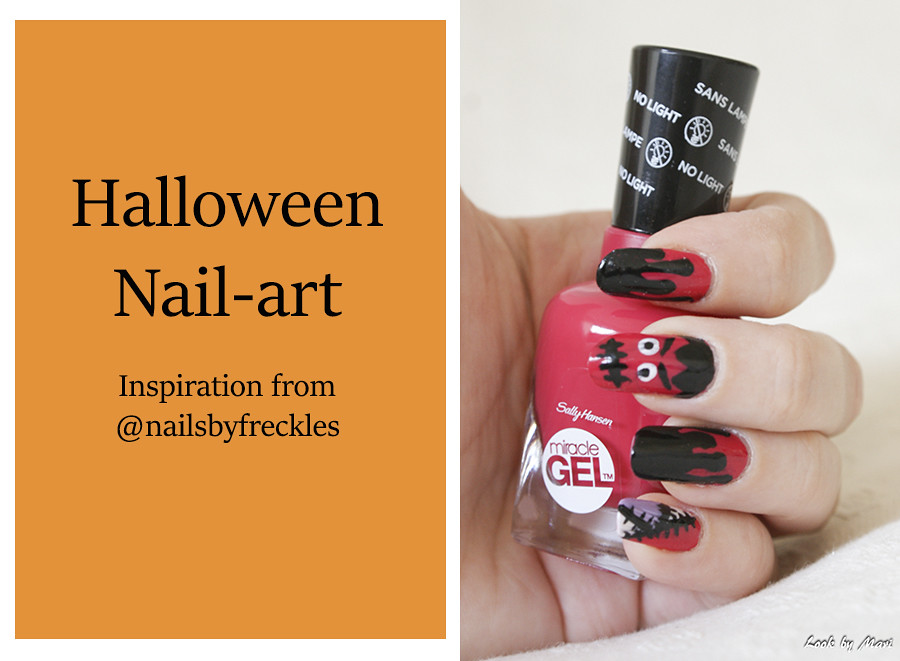
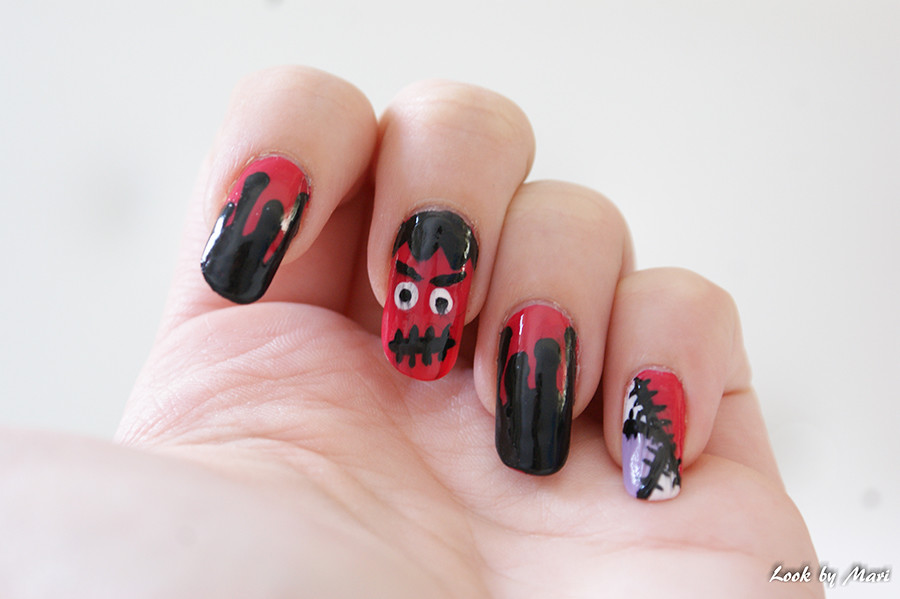
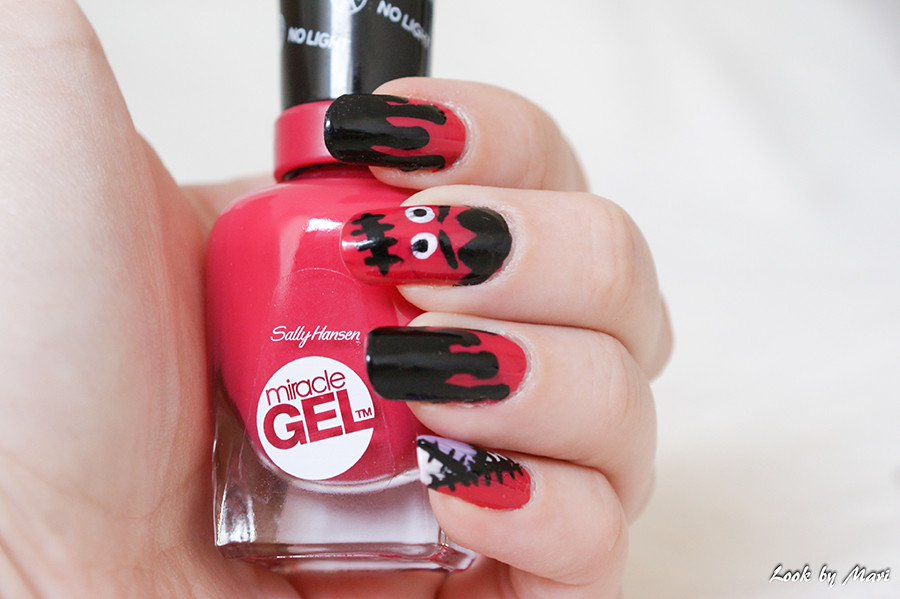
Here are the Halloween nails I was talking about! I saw this Facebook video about Halloween nails and decided to do ones for myself. The design is originally by Nails by Freckles (instagram @nailsbyfreckles). I used Sally Hansen’s Miracle Gel nail polishes in color 220 Pink Tank* and the topcoat*. The Kiss’s black nail polish spread a little bit, but they are Halloween nails, so it just brings some edge in it. Right? :p

Heissan!

Tässä ovat ne mainitsemani Halloween kynnet! Näin Facebookissa koostetun videon Halloween kynsien tutoriaaleista ja päätin tehdä itselleni jotkut niistä. Päädyin alkuperäisesti Nails by Freckles:in malliin (instagram @nailsbyfreckles). Käytin kynsissä Sally Hansen:in Miracle Gel kynsilakkoja värissä 220 Pink Tank* sekä sarjan päällyslakkaa*. Kiss:in musta lakka päätti vähän levitä, mutta nämähän ovat Halloween kynnet, joten se tuo vaan lisää särmää :p Eikös?

*The products are gotten/*Tuotteet saatu