IT’S HERE – LAURA MERCIER LOOSE POWDER

1

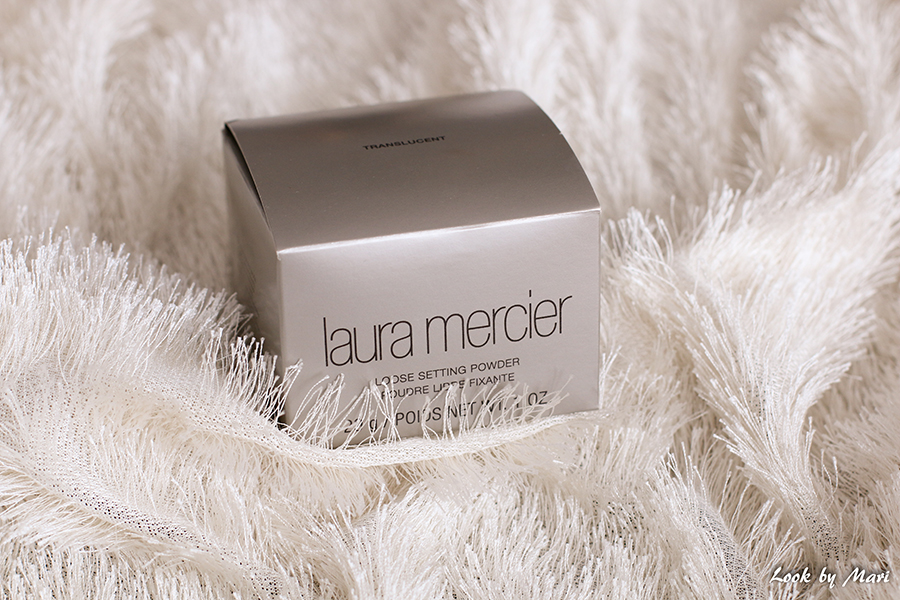
It’s here, It’s here! Finally I got this baby home. Laura Marcier’s Loose setting powder in translucent. Setting powder that is praised as an ultimate heaven to oily skinned people. So to people like me :) I have watched youtuber after youtuber telling about this amazing baking powder that keeps oily people matte all day long. Review after review and video after video I was just more convinced. Finally I got money to buy this and found it inside Europe. I ordered mine from spacenk.com. I read so many bad reviews about this place on internet, but couple of the people I personally know had only good things to share about spacenk.com. So I decided to order this and everything went well. Good packaging and easy payment. This costed 29£, so it was about 44 euros with shipping (in Europe). In Sephora this cost 38$ :)

Se on täällä, se on täällä! Vihdoinkin sain tämän ihanuuden kotiin. Laura Mercierin Loose setting powder (translucent) eli väritön meikinkiinnitys irtopuuteri. Tämä irtopuuteri on ylistetty taivaanlahjaksi rasvaisille ihoille. Ihmisille, kuten minä :) Olen katsonut youtubettajan youtubettajan perään kertovan tästä uskomattomasta ”leipomispuuterista”, joka pitää rasvaisen ihon mattana koko päivän. Jokaisen kuulleeni kehun ja katsomani videon jälkeen olin vain aina entistä vakuuttuneempi tuotteesta. Vihdoin sain kokoon rahat tämän ostoon ja löysin tuotteen verkkokaupasta Euroopan sisältä (ei alveja ja tulleja!). Ostin omani spacenk.comista. Luin netistä niin monia huonoja arvosteluita spacenk.comista, mutta muutamalla verkkokaupasta tilanneella tuttavallani oli vain hyvää kerrottavaa sivuilta tilaamisesta. Päätin sitten tilata tuolta ja kaikki meni sujuvasti. Erinomaisesti pakattu ja helpot maksamisvaihtoehdot. Tämä maksoi 29£ eli noin 44 euroa toimituskulujen kanssa (Eurooppaan).

2

3

4

5

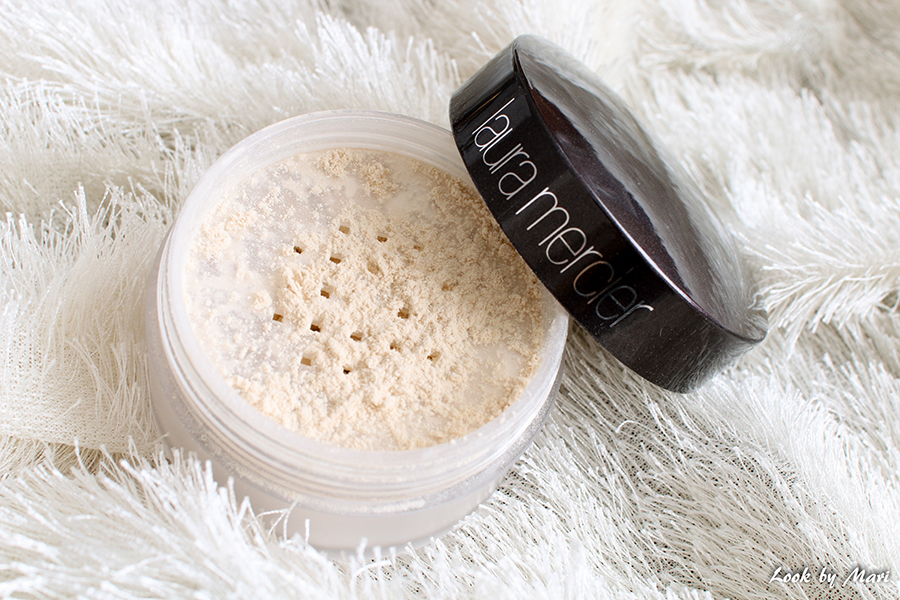
I have tested this couple of times and if I bake my T-area with this it will keep my face matte quite well. And normally my skin start to shine after 10 minutes and within two hours the shine and greasiness is beyond tolerable. I think this will be my new favorite powder. We will see! Have any of you tested this and if you have, what did you thought about it? :)

Olen ehtinyt testaamaan tätä muutaman kerran ja jos ”leivon” tällä t-alueeni se kyllä pitää kiiltoa hyvin poissa. Normaalisti mun iho alkaa muilla puutereille kiiltämään 10 minuutin päästä ja kahden tunnin päästä naama kiiltää jo sietämättömän paljon. Uskon että tästä tulee uusi suosikki puuterini. Se jää nähtäväksi! Onko joku teistä kokeillut tätä ja jos olet niin mitä tykkäsit? :)

6

ORANGE GLITTER – MAKEUP LOOK

1

2

3

4

5

6

Hello! I have seen so many warm color eye looks lately on Youtube and as a cool tone girl I wanted to jump to the warm side and try some warm toned eyeshadows. I only used Morphe Brushes 35U eyeshadow palette to make this eye look. It wasn’t a hard choice, because almost every eyeshadow palette I own is full of cool toned eyeshadow. I really have to buy some cool toned transition shades. Makeup Geek maybe? ;) I would really want to have those single eyeshadows in a z-palette. But yeah back to the makeup look :p I really loved this copper – orange eye makeup and I did put on it on several nights, because it looked so good! :) So more warm toned eye looks coming! What do you guys think?

Moikka! Olen lähiaikoina nähnyt niin monta lämpöisistä sävyistä tehtyä silmämeikkiä Youtubessa ja näin itse kylmäsävyisten sävyjen rakastajana halusin itsekin kerrankin kokeilla jotain muuta :) Käytin silmämeikissä vain Morphe Brushes 35U luomiväripalettia. Päätös ei ollut vaikea, koska lähes kaikki luomiväripalettini ovat täynnä kylmäsävyisiä luomivärejä. Mun täytyisi ostaa vaaleita lämpimän sävyisiä häivytysvärejä. Makeup Geekin ehkä? ;) Haluisin niin omistaa niitä yksittäisiä luomivärejä z-paletissa. Mutta takaisin meikkilookkiin :p Rakastan niin paljon tätä kuparin oranssia silmämeikkiä ja teinkin sen useampana iltana putkeen, koska se vain näytti niin hyvältä! :) Joten lisää lämpimän sävyisiä silmämeikkejä tulossa! Mitäs te tykkäätte?

I used / Käytetyt tuotteet:
Rimmel – Stay Matte Primer
Lumene – Bright Now Vitamin C BB cream (00 Fair)
Oriflame – The ONE illuskin foundation (Porcelain)
LA Girl – Pro conceal HD High-definition concealer (Natural)
Laura Mercier – Loose setting powder (translucent)
Sleek – Face Form contouring & blush palette (Light 373, bronzer)
We care icon – Perfect wear blush natural glow (2 Perfect Rose)
the Balm – Mary-Lou Manizer
Lumene – Eyebrow pencil (3 Blonde)
Oriflame – The ONE eyebrow kit (middle color)
Loreal – Brow artist plumper (transparent)
Morphe Brushes – 35U eyeshadow palette (brown, dark brown & copper)
Urban Decay – Naked 2 eyeshadow palette (black, as an “eyeliner”)
Isadora – Smokey eye liner waterproof (12 Dark Brown, waterline)*
Depend – False lashes (4771)
Oriflame – Giordani Gold Luscious volume mascara (black)

*Products gotten / Tuotteet saatu

7

OMBRE LIPS

1

Ombre lips! I have been wanting to test this out for so long and finally I tested it out. I started with a slight color difference, true red and pink.

Ombre huulet! Olen jo pitkään halunnut testata tätä ombre huulien villitystä ja vihdoin sain kyseisen ilmiön kuville asti. Aloitin vain pienellä värierolla eli kunnon punaisella ja pinkillä.

2

3

I used these four products: Lumene’s Cranberry Kiss lipliner (shade 10), Oriflame’s Giordani Gold lip pencil (pink), Lumene’s Wild Rose Lip Shine (09 Red Whisper) and Nyx’s Butter lipstick (Little Susie).

Käytin huulissa näitä neljää tuotetta: Lumenen Cranberry Kiss huultenrajauskynää (värissä 10), Oriflamen Giordani Gold huultenrajauskynää (pink), Lumenen Wild Rose Lip Shine (09 Red Whisper) ja Nyxin Butter lipstick (Little Susie).

4

5

First I lined my lips with Lumene’s lip pencil, then I colored some of the outer premiers with the same lip liner. Then I colored the inner part of the lips with Oriflame’s lip liner. Then I did the same with the lipsticks, red on the outer parts and pink in the inner. Blending colors and vóla! :)

Ensimmäisenä rajasin huuleni Lumenen tummanpunaisella huultenrajauskynällä, jonka jälkeen värittelin kynällä myös vähän rajoja sisälle päin. Sitten väritin loput Oriflamen pinkillä huultenrajauskynällä. Toistin saman huulipunilla eli tummempaa punaisen huultenrajuskynän päälle ja pinkkiä pinkin päälle. Sitten vain vähän rajojen häivyttelyä ja vóla! :)

6

7

Look how cute is this! <3 I think I will do a red-peachy ombre lips next time. Would it look good? We shall see :)

Katsokaa kuinka söpöä! <3 Kokeilen seuraavaksi punainen-persikka ombre huulia. Näyttäisiköhän se hyvältä? Se jää nähtäväksi :)

8

CLOTHING RACK

1

2

3

4

Hej! Here is more pictures about my handmade clothing rack, because lot of you have asked about this :) So little back story was that I didn’t have enough space for my close (who does?!) and a new closet wasn’t an option. I searched for the PERFECT clothing rack and didn’t found one. No website didn’t have one that I would have taken into my bedroom and no furniture store didn’t have large ones. I was so sad about it and told about my searches to my boyfriend’s parents. Of course they said that their youngest boy could do it and I was kinda suspicious. Could it be done handmade? Yes it CAN! I got to design my own clothing rack from the scratch. I just draw what I wanted and desinged the ”legs” of the rack. I knew I wanted white wooden rack, a dropping top on it and there should be enough space for lot (I mean LOT) of clothes. This is what my boyfriend’s little brother came out! Everything I could ever imagine! Just look at those “legs” and a dropping top :) So happy with this. Materials for this clothing rack costed 71 euros, but the most expensive things were the wooden hangers I bought from Jysk (Finnish furniture shop). If you have any question about this you can ask them in the comment section below and I can try to get answers from my boyfriend’s little brother who did this amazing clothing rack :) And now more pictures!

Heippa! Tässä olisi niitä paljon kyseltyjä kuvia mun käsintehdystä vaaterekistä :) Pieni tarina tämän takana on se, että muutettuamme yhteiseen asuntoomme, ei mulla ollut tarpeeksi tilaa vaatteilleni (kenellä olisi?!) ja lisäkaappi ei vain ollut vaihtoehto asuntoomme. Etsin sitä TÄYDELLISTÄ vaaterekkiä ja en löytänyt sellaista mistään. Mikään nettikauppa ei myynyt kauniin näköisiä rekkejä ja kaikkien huonekaluliikkeiden vaaterekit olivat liian pieniä. Olin niin surullinen asiasta ja manasinkin tuntien etsintääni poikaystäväni vanhemmille. Totta kai he sanoivat, että heidän nuorimmainen poikansahan vääntää sellaisen sulle ja olin lievästi sanottuna epäileväinen asian suhteen. Voisiko sellaisen muka tehdä alusta alkaen käsityönä? Kyllä sen VOI! Sain suunnitella oman vaaterekin aivan alusta asti. Piirsin vain mitä halusin ja suunnittelin rekin ”jalat”. Tiesin, että haluaisin valkoisen puisen rekin, jossa olisi ”tippuva” vino yläosa ja rekin pitäisi myös olla tarpeeksi iso kaikille vaatteilleni :) Tällaisen poikaystäväni pikkuveli sai aikaan! Kaikki mitä pystyin vain unelmoimaan vaaterekin suhteen! Katsokaa nyt noita ”jalkoja” ja tippuvaa yläosaa :) Olen niin iloinen ja tyytyväinen. Materiaalit tähän maksoivat 71 euroa, mutta kallein asia rekissä olivat tämmän hinnan päälle ostamani puiset henkarit Jyskistä. Jos sulla on jotain kysyttävää tästä vaaterekistä niin niitä saa toki kysyä alempana kommenteissa ja koitan sitten saada tämän uskomattoman kauniin vaaterekin tekijän vastaamaan niihin :) Ja eikun katsomaan lisää kuvia alemmas!

5

6

7

8

9